Easy Crochet Beanie: Beginner Free Pattern & Tutorial
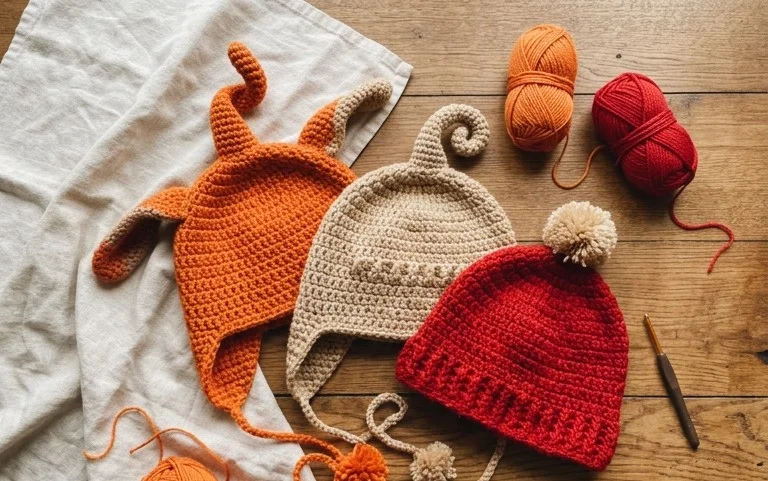
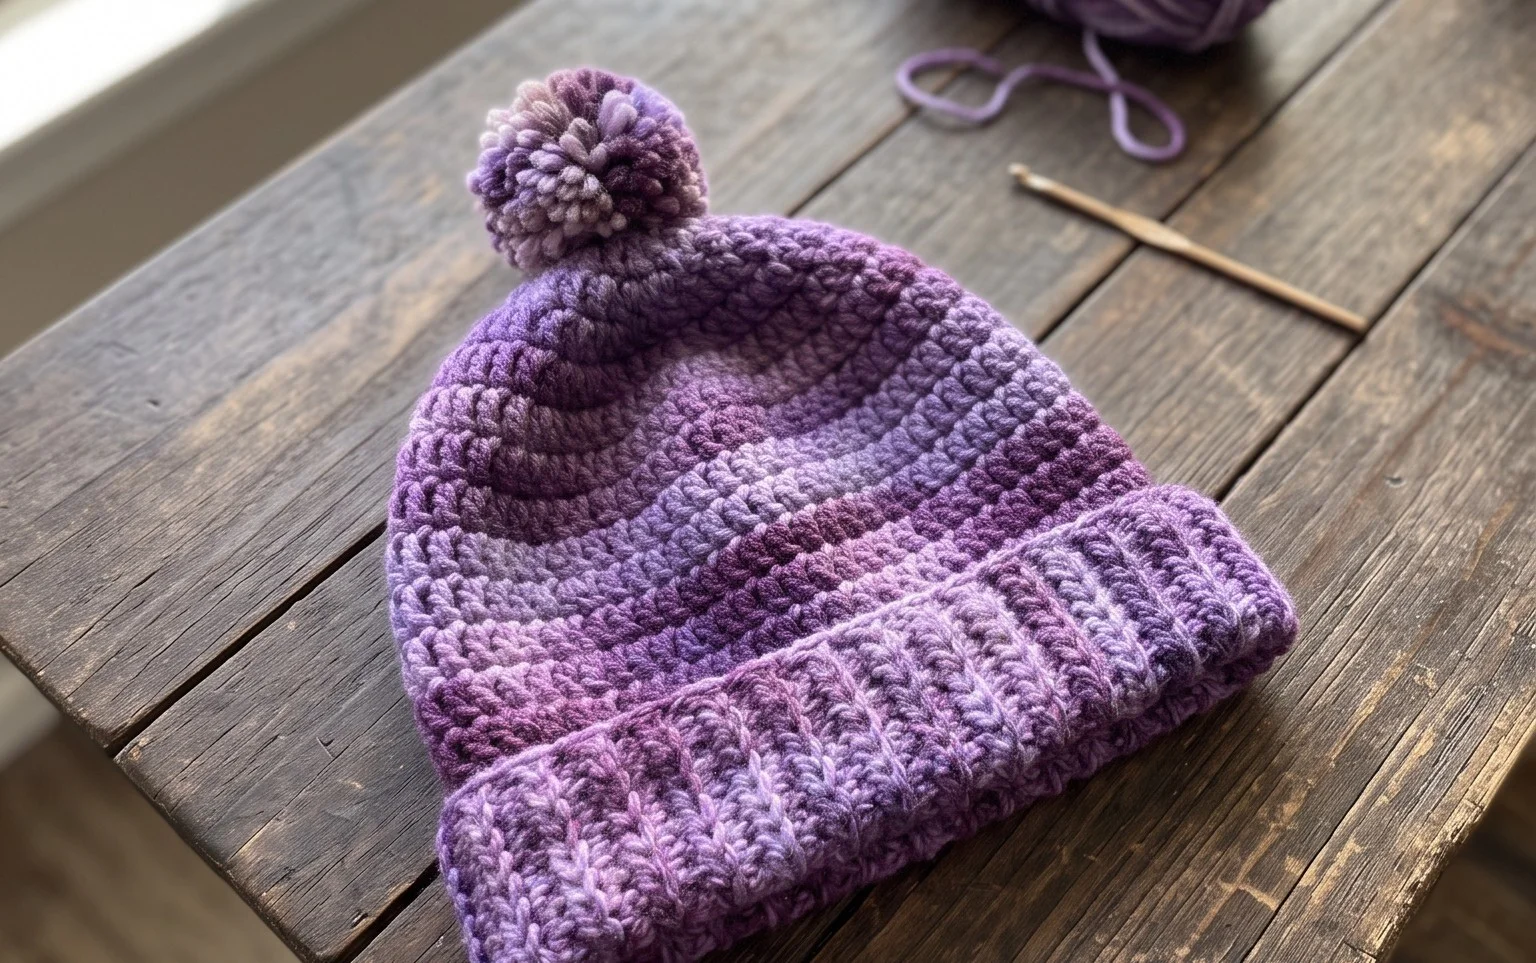
This ribbed beanie feels like a warm hug on a freezing winter morning because of the thick, squishy fabric created by the single crochet back loop stitch. Beginners often struggle with shaping, but this design remains a simple rectangle until the final assembly, which removes the stress of counting increases or decreases. You can finish this project during a single rainy afternoon while curled up on your sofa with a hot cup of tea. It makes a thoughtful handmade gift for friends who appreciate functional accessories that actually stay in place. Learning to manipulate tension during the rows ensures your ribbing looks clean, professional, and stretchy enough for daily wear throughout the entire colder season.
Why This Project Is Worth Making
This beginner-friendly project creates a classic crochet beanie using simple stitches that work up remarkably fast. Because the pattern relies on basic single crochet in the back loop only, it develops a ribbed, stretchy texture that fits snugly without feeling tight. It is an ideal way to use up partial skeins of medium-weight yarn from your stash, as a standard adult size requires less than 200 yards. The repetitive nature of the construction makes it a perfect companion for relaxing in the evening, as you do not need to keep track of complex stitch patterns or constant color changes.
I finished this hat in just one weekend and the ribbed texture looks much more professional than I expected for such a simple stitch pattern.
— Sarah, hobbyist crocheter
Pattern Overview & Skill Level
- Skill Level: Beginner
- Approximate Time: 3 to 5 hours
- Construction: Worked as a flat rectangular panel in rows, then seamed at the side and gathered at the top.
- Finished Dimensions & Sizing: Adult size, approximately 18 inches circumference (unstretched) and 9 inches height.
Materials & Supplies Needed
- Yarn: Worsted weight (#4), wool or acrylic blend, approximately 180 yards.
- Hook Size: 5.0 mm (US H-8).
- Notions: Tapestry needle for seaming, stitch markers, and a tape measure.
- Yarn Substitutions: You can use a lighter DK weight yarn if you increase your starting chain length to match the desired height, though this will result in a thinner, less structured fabric. Avoid heavy bulky yarns unless you reduce the number of stitches in your foundation chain to maintain the same size.
Stitch Guide & Abbreviations (US Terms)
- ch = chain
- st/sts = stitch/stitches
- sc = single crochet
- BLO = back loop only (insert hook under the back loop of the stitch instead of both loops to create ribbing)
- sl st = slip stitch
- turn = turn your work to begin the next row
The Crochet Technique
To achieve the ribbed look, you will work every single crochet into the back loop only. When you reach the end of a row, chain one and turn. This consistent method builds vertical ridges that allow the finished fabric to stretch comfortably around the head.
Step-by-Step Pattern Instructions
Main Hat Panel
- Row 1: Ch 45. Sc in the second ch from the hook and in each ch across. (44 sts)
- Row 2: Ch 1, turn. Sc in BLO of each st across. (44 sts)
- Rows 3–60: Repeat Row 2 until the piece measures approximately 18 inches in length when slightly stretched. (44 sts)
- Finishing: Fasten off, leaving a 12-inch long yarn tail for seaming.
Assembly and Finishing
- Fold the rectangle in half so the short edges meet.
- Use the tapestry needle and the long yarn tail to whip stitch the two short edges together to form a tube.
- Once joined, weave the yarn through the stitches along the top edge of the tube. Pull the yarn tail tight to gather the top of the hat completely shut.
- Secure the center with a knot and weave in your ends on the inside of the hat to hide them.
Care & Washing Instructions
- Hand wash in cool water using a mild wool-safe detergent to preserve the elasticity of the stitches.
- Lay the item flat on a dry towel and reshape it while damp to ensure it dries in the correct proportions.
- Do not hang to dry, as the weight of the water can stretch the fabric out of its intended shape.
Pro Tips & Common Mistakes to Avoid
- Maintaining consistent tension is vital for a smooth ribbing effect; if your stitches are too tight, the hat will lose its signature stretch.
- Use a stitch marker in the first stitch of every row to ensure you do not accidentally skip the final stitch, which prevents the edges from tapering inward.
- Weave your ends back and forth through the ribbed ridges on the inside to keep the seams invisible and secure.
- Adjust the size by adding or subtracting rows; each row adds about 0.3 inches to the circumference, so measure your head before you finish the final seam.
Frequently Asked Questions
Can I use cotton yarn for this project?
Cotton yarn is much less elastic than wool or acrylic, so the hat will not have the same stretch or recovery. If you choose cotton, consider adding an extra 10 percent to your foundation chain length for a better fit.
Is this pattern suitable for complete beginners?
Yes, this is an excellent starter project because it only uses the single crochet stitch and works in a simple rectangular shape, removing the need for complex increases or decreases.
How do I adjust the height of the beanie?
Simply adjust the number of stitches in your foundation chain at the very beginning; adding more chains makes the hat taller, while fewer chains create a shorter, skull-cap style fit.
Am I allowed to sell hats made from this pattern?
You are welcome to sell finished items created from this pattern, but you should always credit the designer. Please note that you cannot redistribute the pattern text or photos as your own work.
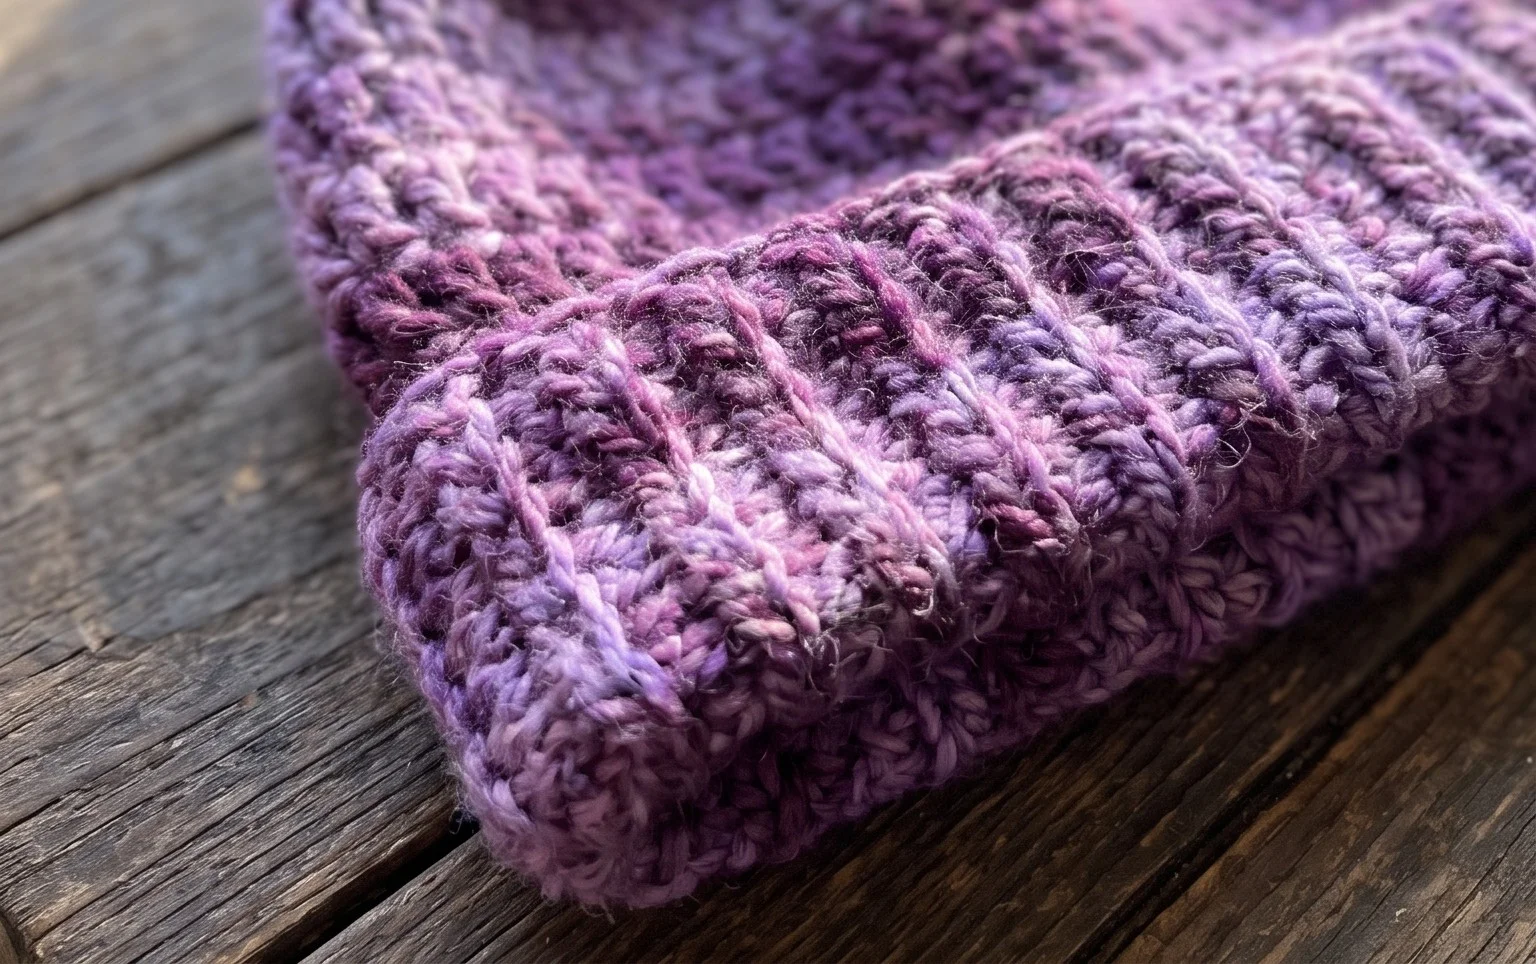
Holding your finished, soft beanie for the first time gives a genuine sense of accomplishment that simple store-bought items cannot replicate. You might consider adding a faux fur pom-pom to the top for a playful, modern touch or switching to a variegated yarn to add visual interest without changing the stitch count. Sharing a photo of your completed work on social media allows others to see your unique color choices and texture. Please check out the rest of the blog for more free patterns to fill your weekend with relaxing, rewarding projects.