Easy Crochet Drawstring Bag: Free Pattern for Beginners
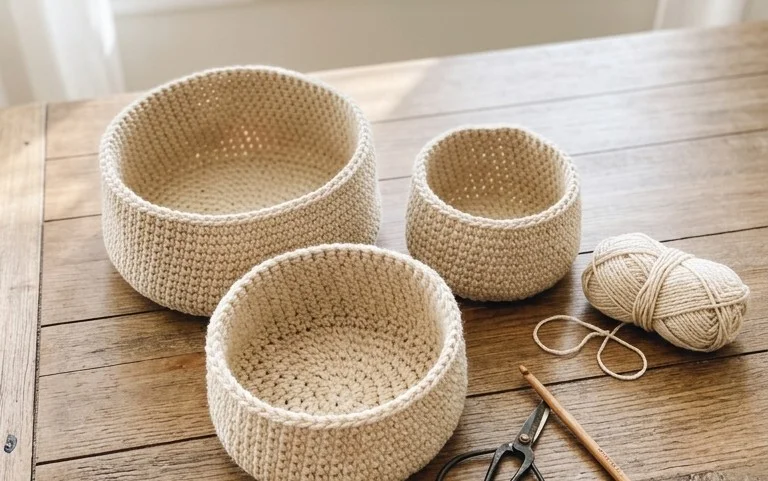
A small, sturdy pouch keeps loose odds and ends from cluttering up your workspace or bag. This project results in a dense, uniform fabric that stands upright on its own, providing a reliable home for your stitch markers, headphones, or spare change. Whether you are a brand new maker or someone who wants to brush up on basic round-counting skills, this design offers a calm, rhythmic experience. You will work through simple single crochet stitches, building the base before transitioning into a row of eyelets for your cord. The final result feels substantial in your hands and organizes your daily clutter without requiring complex assembly or extra hardware.
Why This Project Is Worth Making
This simple crochet drawstring bag relies on basic single crochet stitches worked in continuous rounds, making it an ideal project for those looking to practice their tension and round-counting skills. The compact size makes it perfect for carrying small personal items like headphones, lip balm, or project notions. Because the construction is straightforward, you can complete this bag in a single afternoon using less than one skein of yarn. The adjustable drawstring closure provides a secure way to keep your belongings protected without the need for complex zippers or buttonholes.
I managed to finish this little bag in just two hours while watching a movie. The instructions were very easy to follow and the finished size is exactly what I needed for my stitch markers.
— Sarah, casual crafter
Pattern Overview & Skill Level
- Skill Level: Beginner
- Approximate Time: 2 to 3 hours
- Construction: Worked in continuous rounds from the base up, finishing with a row of eyelets for the drawstring.
- Finished Dimensions: 5 inches wide by 6 inches tall when laid flat.
Materials & Supplies Needed
- Yarn: Worsted weight (#4) cotton yarn, approximately 80 yards. Cotton provides the structure needed for a sturdy bag.
- Hook Size: 4.5 mm / US 7.
- Notions: Tapestry needle, stitch marker, and 1 yard of cotton cord or braided yarn for the drawstring.
- Yarn substitutions: Acrylic yarn is a soft alternative, though it will produce a stretchier bag that may lose its shape over time. Wool yarn will result in a warmer, heavier bag but should be hand-washed to prevent felting.
Stitch Guide & Abbreviations (US Terms)
- MR: Magic ring
- ch: Chain
- sc: Single crochet
- inc: 2 sc in the same stitch
- dec: Single crochet two stitches together
- sl st: Slip stitch
- YO: Yarn over
- St(s): Stitch(es)
Step-by-Step Pattern Instructions
Bag Body
- Rnd 1: Work 6 sc into a magic ring (6 sts).
- Rnd 2: Inc in each st around (12 sts).
- Rnd 3: (1 sc, inc) repeat 6 times (18 sts).
- Rnd 4: (2 sc, inc) repeat 6 times (24 sts).
- Rnd 5: (3 sc, inc) repeat 6 times (30 sts).
- Rnd 6: (4 sc, inc) repeat 6 times (36 sts).
- Rnd 7: (5 sc, inc) repeat 6 times (42 sts).
- Rnd 8: Sc in each st around in the back loops only (42 sts).
- Rnds 9–22: Sc in each st around (42 sts).
Drawstring Eyelets
- Rnd 23: (Ch 2, skip 2 sts, 5 sc) repeat 6 times (42 sts).
- Rnd 24: Sc in each st and each ch-2 space around (42 sts).
- Rnd 25: Sl st in each st around, fasten off and weave in ends.
Assembly
Cut your drawstring cord to approximately 20 inches in length. Thread the cord through the eyelets created in Rnd 23, alternating weaving it in and out of the holes until you reach the starting point. Tie a small knot at each end of the cord to prevent it from slipping through the eyelets.
Care & Washing Instructions
- Hand wash your finished bag in cool water with a mild detergent.
- Lay the item flat on a towel to air dry, reshaping it while damp to ensure the base remains circular.
- Do not bleach or iron the fabric, as this can degrade the cotton fibers and affect the tension of the stitches.
Pro Tips & Common Mistakes to Avoid
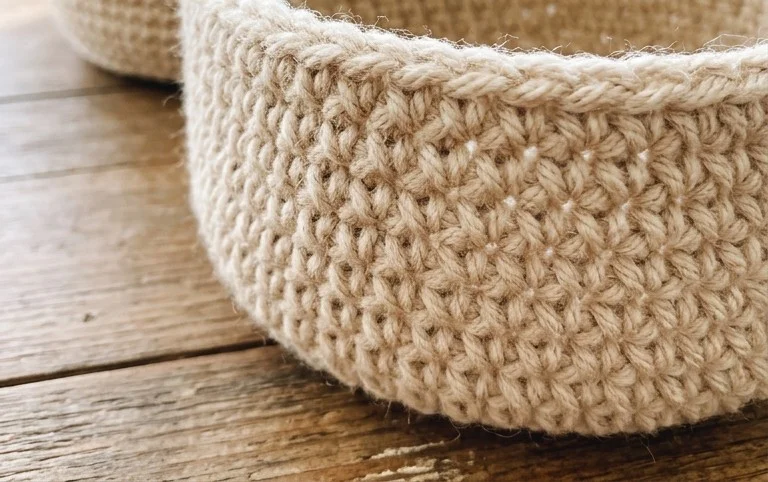
Maintain consistent tension throughout the project by keeping your yarn tension comfortable in your non-dominant hand; if your stitches look tight and puckered, consider going up half a hook size. Always place a stitch marker at the start of every round to ensure you do not lose your place during the continuous spiraling process. To weave in your ends invisibly, thread your tail through the back loops of the interior stitches to hide the yarn securely without creating bulky knots. If you wish to make a larger bag, increase the size of the base by continuing the increase pattern in Rnd 7, noting that this will require more yarn to maintain the same height-to-width ratio.
Frequently Asked Questions
Can I use a different weight of yarn for this project?
Yes, but changing the yarn weight will significantly alter the finished size. Using a lighter weight yarn will result in a smaller bag, while a heavier yarn will create a larger, stiffer structure.
Is this pattern suitable for complete beginners?
This pattern is excellent for beginners who understand how to hold a hook and execute a basic single crochet stitch. It focuses on consistent repetition rather than complex stitch patterns.
How do I adjust the height of the bag?
You can easily adjust the height by adding or removing rounds between Rnd 9 and Rnd 22. Just ensure you repeat the section evenly so the bag remains symmetrical.
Am I allowed to sell bags made from this pattern?
You are welcome to sell finished items created from this design. Please credit the pattern origin whenever possible to support the independent design community.
This simple drawstring pouch serves as a satisfying addition to your collection of everyday carry accessories. You might try working with a variegated cotton yarn next time to create a different look, or even hold two strands of thinner yarn together if you want to experiment with a thicker, squarer shape. Please share a photo of your finished work on social media so others can see your color choices. You can find more free crochet patterns right here on the blog to start your next afternoon project.