10 Unique Beanie Crochet Patterns: Free Beginner Guide
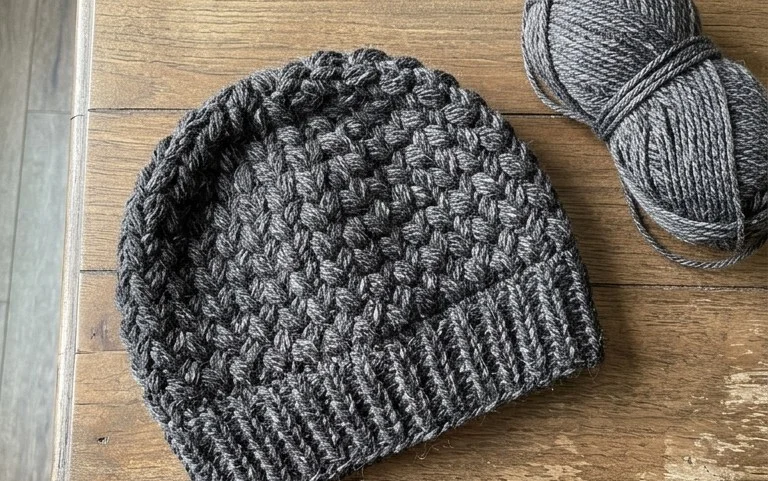
This ribbed beanie feels substantial and warm against the skin, offering a thick, squishy texture that stands up well to cold winter winds. Whether you are a beginner looking to build confidence with basic stitches or a busy maker needing a reliable gift, this project provides a satisfying rhythm. Working in back loops creates a distinct vertical line that mimics a store-bought knit, giving your accessory a polished and intentional finish. You will learn how to build structure through simple rows and basic assembly, ensuring a fit that stays comfortable for hours without sliding off your head during daily wear.
Why You’ll Love This Pattern
This crochet ribbed beanie pattern uses a simple back-loop-only technique that creates a professional, store-bought look with minimal effort. You work the hat as a flat rectangle, which means you avoid the complexity of shaping crowns with decreases. It is a highly portable project that relies on a single, rhythmic stitch repeat, making it ideal for crocheting while traveling or watching television. Because it works up quickly, it serves as a reliable last-minute gift option for birthdays or holidays.
I managed to finish this hat in a single weekend. The texture is soft, and the fit is exactly what I wanted without any tricky math or complicated shaping steps.
— Sarah, hobbyist crocheter
Pattern Overview & Skill Level
- Skill Level: Beginner
- Approximate Time: 3 to 5 hours
- Construction: Worked as a flat rectangle in rows, then seamed at the side and cinched at the top to form a hat shape.
- Finished Dimensions & Sizing: Adult medium (approx. 9 inches wide by 11 inches tall before folding the brim).
Materials & Supplies Needed
- Yarn: Worsted weight (#4), wool or acrylic blend, approximately 200 yards.
- Hook Size: 5.5 mm (US I-9).
- Notions: Tapestry needle for weaving ends, stitch markers, and scissors.
- Safe yarn substitutions: You can use a DK weight yarn if you increase the starting chain length to match the desired height and work extra rows to reach the circumference, though this will change the fabric density. Avoid heavy cotton yarns as they lack the necessary stretch and bounce for a fitted beanie.
Stitch Guide & Abbreviations (US Terms)
- ch = chain
- st = stitch
- sc = single crochet
- BLO = back loop only (insert the hook only under the back strand of the V-shape on top of the stitch).
- sl st = slip stitch
Step-by-Step Pattern Instructions
Hat Body
- Row 1: Ch 46. Work 1 sc in the second ch from the hook and in each ch across. (45 sts)
- Row 2: Ch 1 (does not count as a stitch), turn. Working in BLO, sc in each st across. (45 sts)
- Rows 3-60: Repeat Row 2 until the piece measures approximately 18 inches in length when slightly stretched.
Assembly and Finishing
- Fasten off, leaving a 20-inch yarn tail.
- Fold the rectangle in half so the short ends touch.
- Using the tapestry needle and the long yarn tail, whip stitch the two short ends together to create a tube.
- Thread the needle through the stitches along the top edge of the tube, weaving in and out of the ends of every other row.
- Pull the yarn tail tight to gather the top of the hat closed, securing the opening with a few firm stitches.
- Weave in all remaining yarn ends securely on the inside of the hat.
- Fold the bottom edge up by 2 to 3 inches to form the brim.
Care & Washing Instructions
- Hand wash in cool water using a mild wool-safe detergent to maintain fiber integrity.
- Lay the hat flat on a clean towel to air dry away from direct heat or sunlight.
- If the ribbing loses its shape over time, gently steam block it by hovering a steam iron above the fabric without touching the yarn.
Pro Tips & Common Mistakes to Avoid
Maintain consistent tension throughout the project to ensure the ribbing looks uniform across the entire surface. If your tension is too tight, the fabric will be stiff and lose its stretch. Use a stitch marker in the first stitch of every row to ensure you do not accidentally drop stitches at the edges, which would result in a slanted seam. Weave your ends back and forth in three different directions on the interior to prevent them from loosening over time. To adjust the size, simply add or subtract rows; keep in mind that every two rows of this pattern add approximately 0.5 inches to the total circumference, which will require roughly 10 extra yards of yarn for every extra inch of width.
Frequently Asked Questions
Can I use a larger hook size for this pattern?
Using a larger hook will make the fabric drapier and looser. If you choose to go up a size, verify that the resulting fabric does not have holes that allow the cold air to pass through.
Is this pattern suitable for complete beginners?
Yes, this is an excellent choice for a first project. It teaches the fundamental skill of working in the back loop only, which creates texture, and requires only basic counting.
How do I know if the hat will fit correctly?
Wrap your finished rectangle around your head before seaming. It should fit snugly against your forehead and ears without being tight enough to cause discomfort or leave red marks on your skin.
Am I allowed to sell hats made from this pattern?
You are welcome to sell finished items produced from this pattern. I ask that you credit the pattern design to me if you are selling them online or at craft markets.
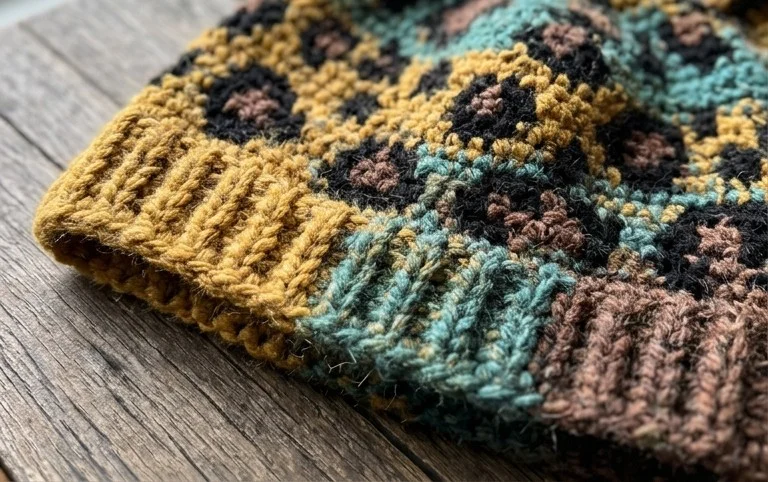
Seeing your handmade beanie come together is incredibly rewarding, especially when you wrap it around your head for the first time. For a fun variation, try working this pattern in a variegated yarn to highlight the ribbing, or adjust the width to create a slightly slouchier fit. If you are proud of how yours turned out, post a photo to your favorite social media feed to show off the finished stitches. There are many other free patterns waiting for you on the blog whenever you feel ready for your next project.