Easy Knit-Look Beanie: Free Crochet Pattern for Beginners
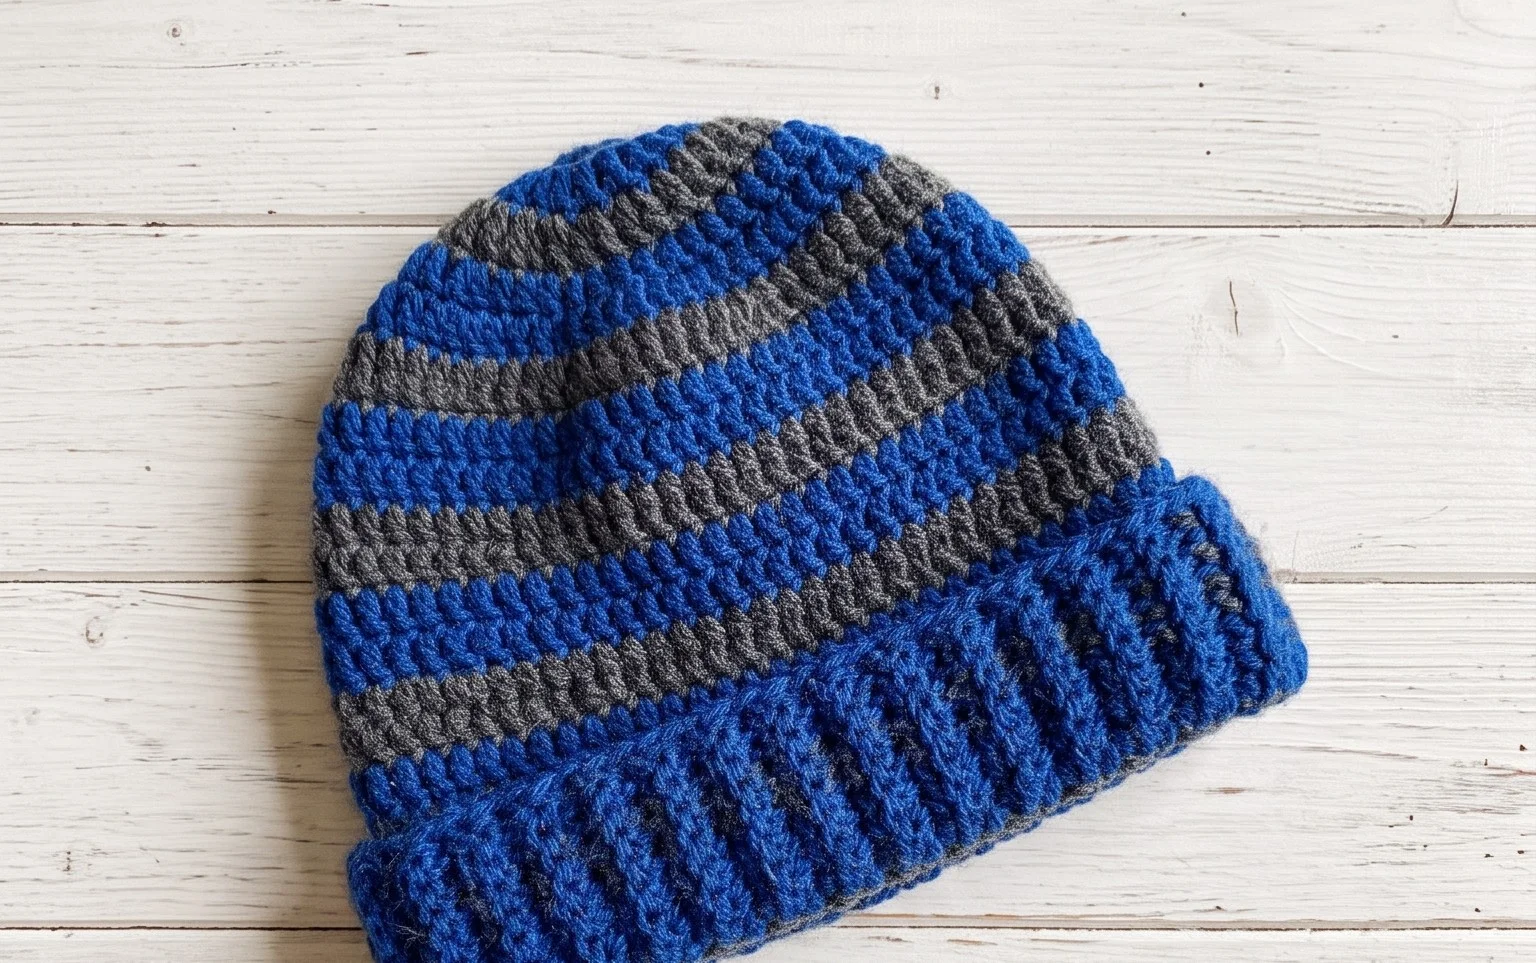
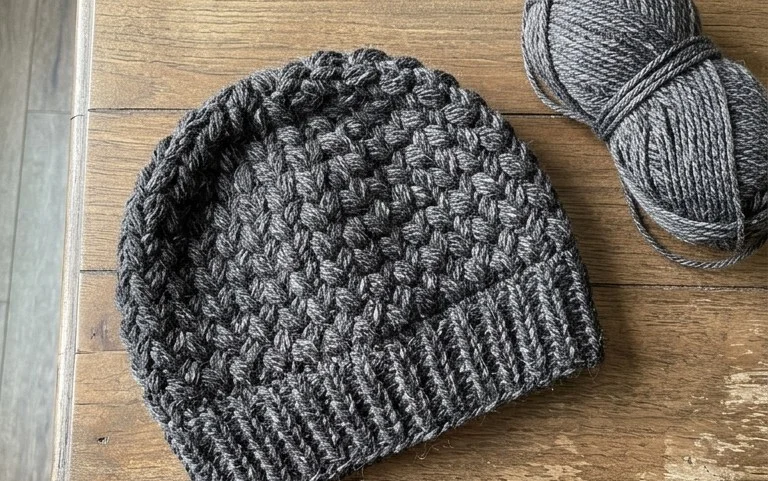
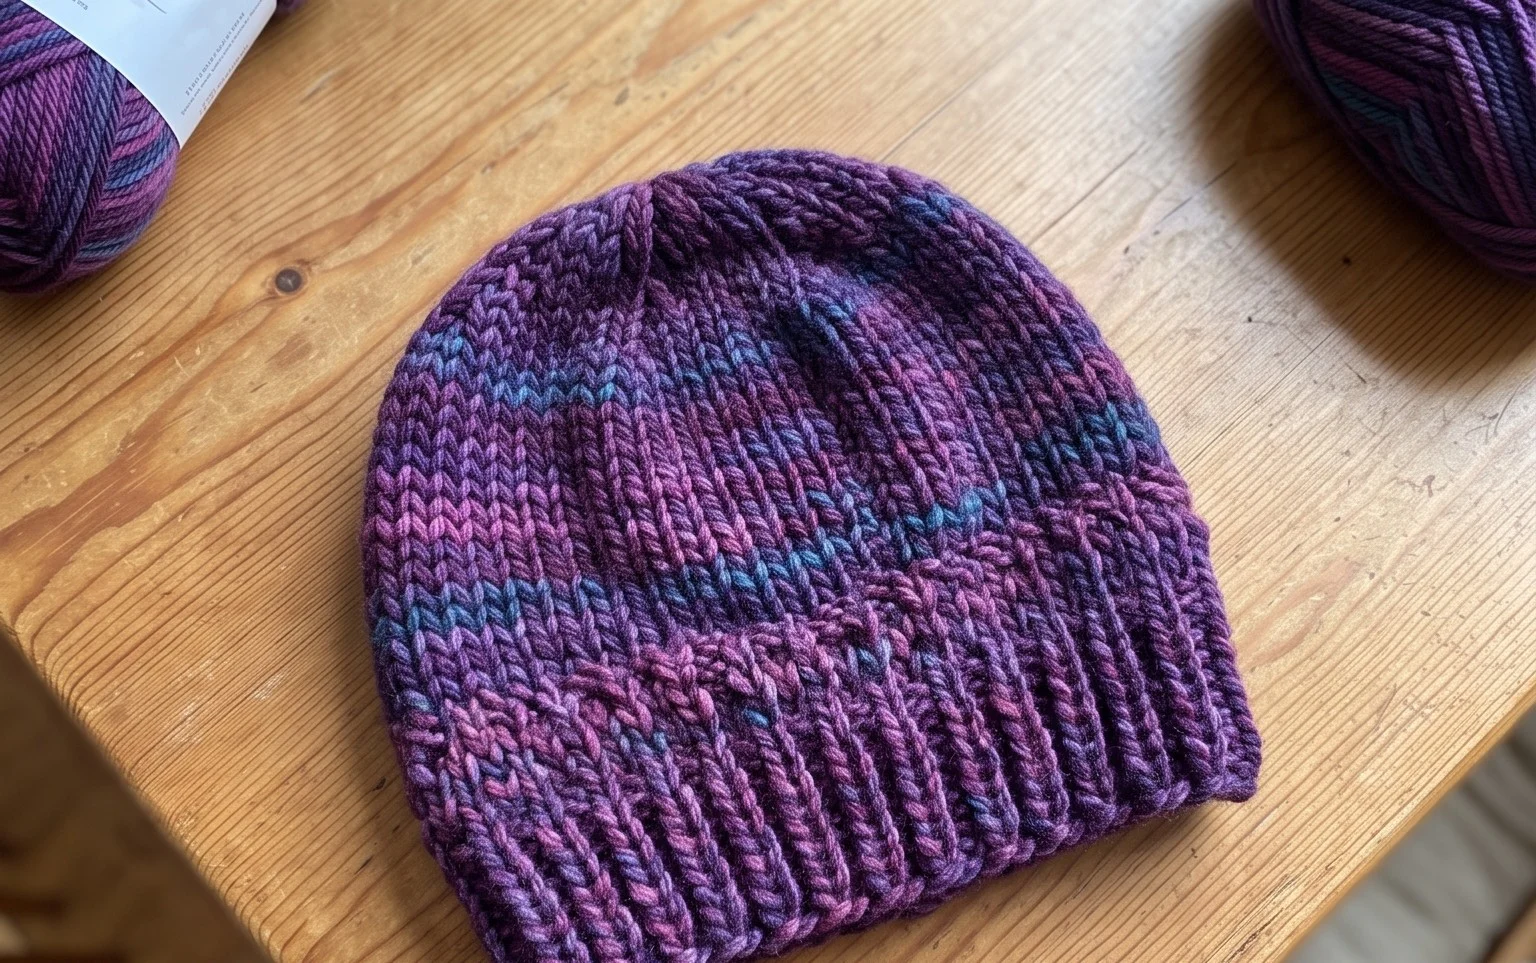
This simple hat features a dense, ribbed texture that mimics traditional knitting without requiring any needles. You will work back and forth in rows using basic single crochet stitches, which makes the construction approachable for anyone who has just learned to hold a hook. The resulting fabric is thick and provides substantial warmth, fitting comfortably around the head without feeling loose or bulky. Making this piece serves as a relaxing weekend project, especially when you need a gift or a quick wardrobe update. This guide covers the specific row-by-row technique to achieve that crisp, vertical ribbing effect.
Why You’ll Love This Pattern
This classic crochet beanie works up quickly using a simple ribbed construction that creates a naturally stretchy, comfortable fit. Because it relies on basic single crochet stitches worked in the back loops, the fabric mimics the look of a store-bought knit cap while providing the extra warmth of a thicker crochet weave. The project is highly portable, making it an ideal choice for stitching while traveling or relaxing in the evening. You only need one skein of standard yarn to complete the hat, which keeps costs low for gift-giving projects.
I finished this hat in a single weekend. The texture is soft and the sizing instructions were spot-on for my husband, who usually finds store-bought hats too tight.
— Sarah, hobbyist maker
Pattern Overview & Skill Level
- Skill Level: Beginner
- Approximate Time: 3 to 5 hours
- Construction: Worked flat as a rectangular panel and seamed to form a tube, then gathered at the crown.
- Finished Dimensions & Sizing: Fits average adult head circumference of 22 inches (56 cm). The flat panel measures 18 inches wide by 9 inches tall before seaming.
Materials & Supplies Needed
- Yarn: Worsted weight (#4), approximately 200 yards of wool or acrylic blend.
- Hook Size: 5.0 mm (US H-8).
- Notions: Tapestry needle for seaming, stitch markers to track row ends, and a pair of scissors.
- Safe yarn substitutions: Cotton blends will provide a heavier, less elastic hat, while 100% acrylic offers the most stretch and easiest washability. Changing fiber content may require adjusting your starting chain length to ensure a proper fit.
Stitch Guide & Abbreviations (US Terms)
- ch = chain
- sc = single crochet
- BLO = back loop only (insert hook under the back loop of the stitch instead of both loops)
- st/sts = stitch/stitches
- sl st = slip stitch
- YO = yarn over
Step-by-Step Pattern Instructions
Hat Body
You will work this hat in rows. The chain at the beginning of each row does not count as a stitch.
- Row 1: Ch 45. Sc in the second ch from the hook and in each remaining ch across. (44 sts)
- Row 2: Ch 1, turn. Sc in BLO of the first st and every st across. (44 sts)
- Rows 3–70: Repeat Row 2 until the piece measures 18 inches when slightly stretched. Ensure you end on a wrong-side row.
Finishing and Assembly
Once you reach the desired width, fasten off, leaving a 20-inch yarn tail for seaming. Fold the rectangular panel in half, matching the short ends together. Using the tapestry needle and your long yarn tail, whip stitch the two short edges together to form a tube. Do not fasten off after the seam is finished.
To close the crown, weave your yarn tail in and out along the top edge of the tube. Pull the yarn tail tight to gather the fabric until the opening is fully closed. Secure the center with a knot and weave in your ends on the inside of the hat. If you choose to add a pom-pom, attach it firmly to the center point where you gathered the crown.
Care & Washing Instructions
- Hand wash in cool water using a mild wool-safe detergent to preserve the shape and fiber integrity.
- Lay the item flat on a dry towel and roll it to remove excess moisture, then reshape it on a drying rack away from direct heat.
- Avoid wringing or twisting the fabric while wet, as this can stretch the stitches and compromise the elastic fit of the brim.
Pro Tips & Common Mistakes to Avoid
Maintain consistent tension throughout the project, as a loose hand will result in a hat that slips off, while a tight hand makes the fabric stiff and uncomfortable. Always use a stitch marker at the end of every row to ensure you are not accidentally dropping stitches, which often happens at the transition between rows. When weaving in your ends, use a duplicate stitch method on the inside of the work to keep the join invisible and secure. If you wish to make the hat smaller or larger, add or subtract rows in increments of two, but remember that this will affect your total yarn usage.
Frequently Asked Questions
Can I use a chunky weight yarn instead of worsted?
You can, but the stitch counts provided will result in a much larger hat. You would need to reduce your starting chain and decrease the total number of rows to compensate for the thicker yarn gauge.
Is this pattern suitable for someone who has never crocheted before?
Yes, this is an excellent first project. It only requires the single crochet stitch and teaches you how to maintain straight edges, which is the most important skill for garment construction.
How do I determine if the hat is the right size before I finish?
Wrap your finished rectangle around your head. It should fit snugly with a small amount of negative ease, meaning it feels slightly tight so that it stays secure when worn.
Am I allowed to sell hats made from this pattern?
You are welcome to sell finished items made from this guide as long as you credit the design. Please do not redistribute or sell the text of the pattern itself.
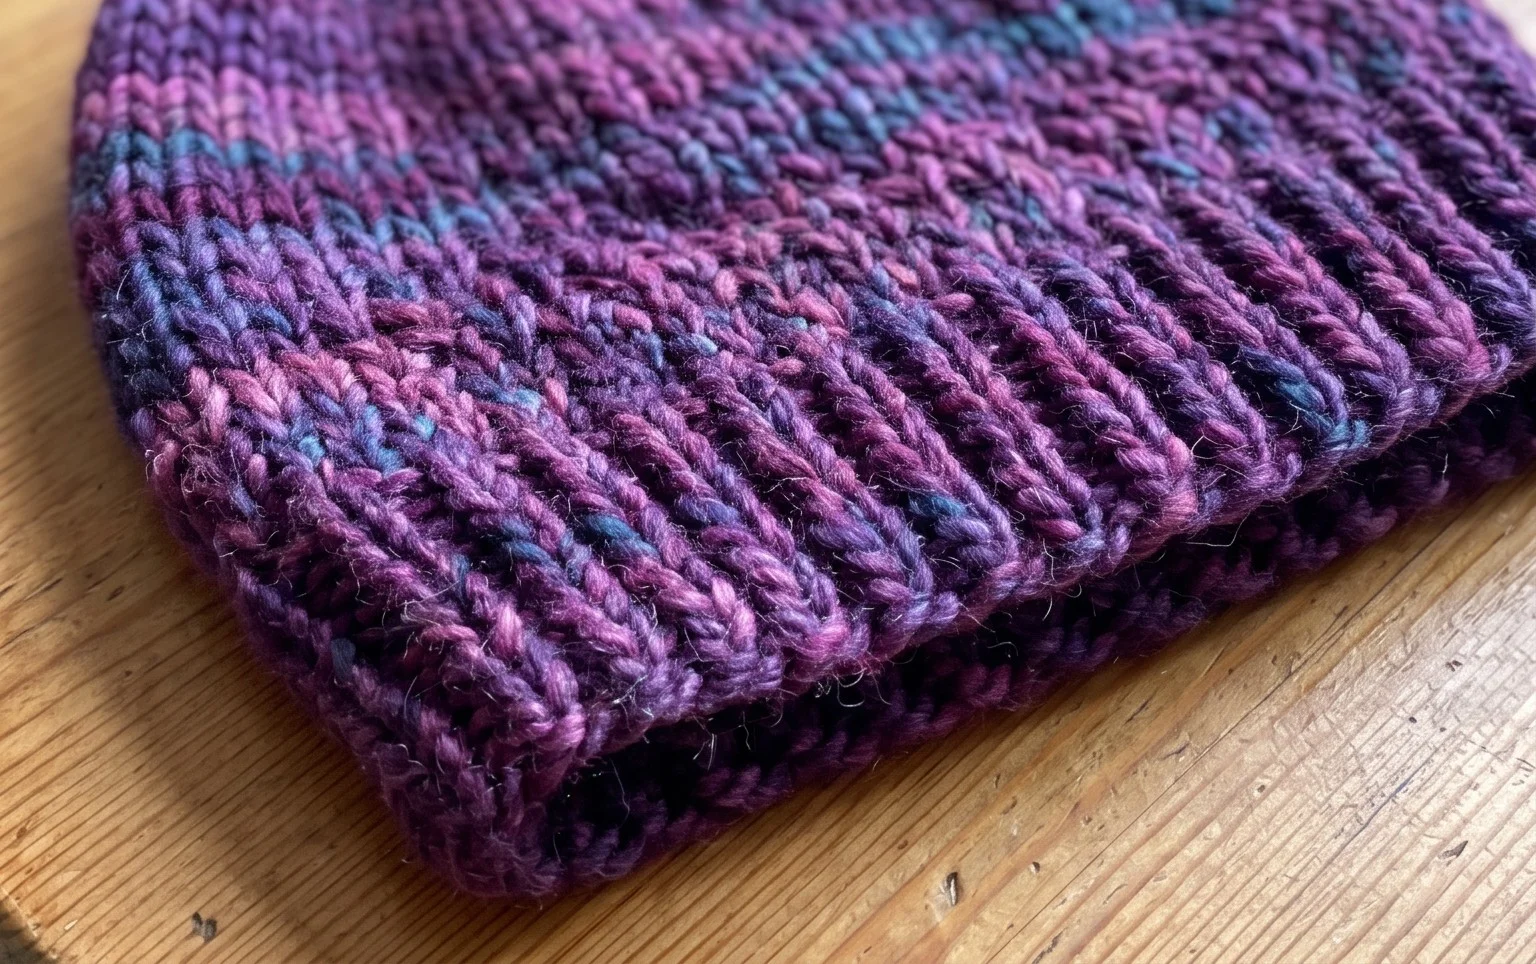
Your finished hat is ready to keep you warm through the chilliest winter months. You can easily modify the design by holding two strands of yarn together for a chunkier silhouette or by adding a faux fur pompom to the crown for a playful look. If you enjoy how your cap turns out, post a photo to social media so others can see your color choices. I encourage you to browse the rest of the blog for more free projects to fill your crafting time.