Easy Crochet Ribbed Beanie Pattern – Beginner Friendly
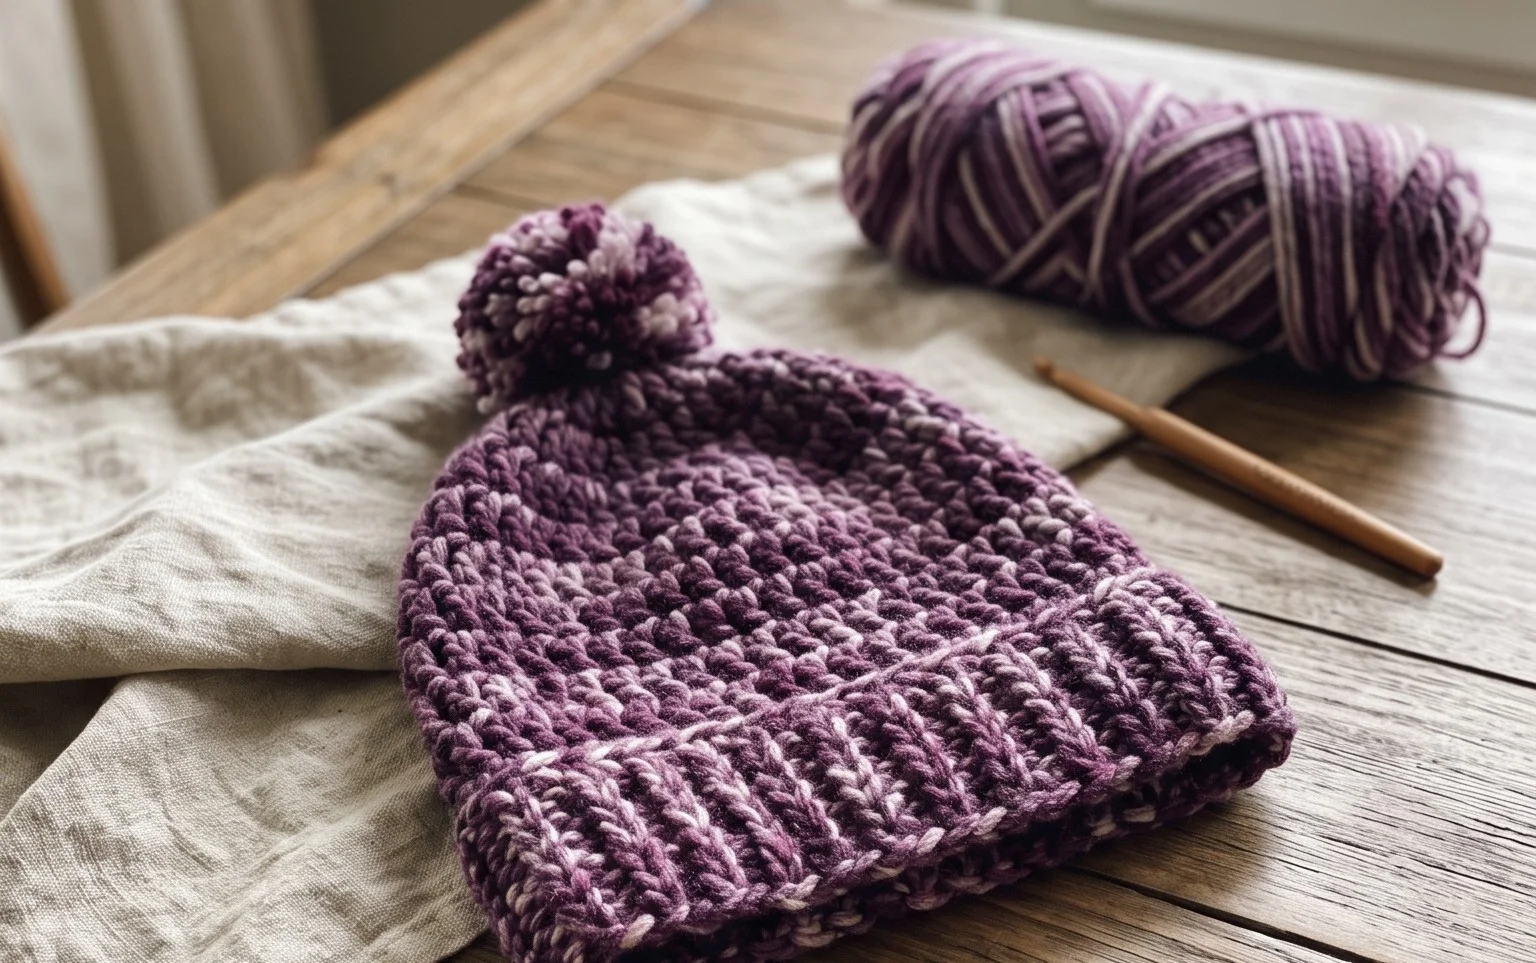
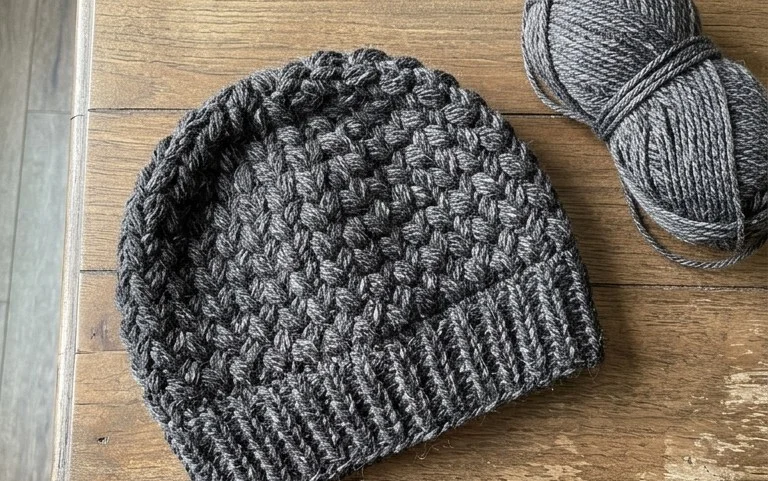
This ribbed beanie has a dense, squishy texture that feels warm and sturdy against the cold air. It relies on the half double crochet stitch worked into the back loop only, which creates a vertical ribbing effect that looks just like traditional knitting. You will finish this hat by crocheting a simple rectangle, sewing the two short ends together, and gathering the top tightly with a piece of yarn. Beginners often find this method more approachable than circular knitting because it avoids complicated increases. This project provides a reliable way to practice tension while creating a gift that feels personal and professional.
Why You’ll Love This Pattern
This crochet ribbed beanie pattern uses a simple construction method that mimics a professional knit-look finish using only basic stitches. It works up quickly because you are crocheting a flat rectangle and seaming it into a tube, rather than working in rounds, which makes it an ideal project for those who find circular increases confusing. The vertical ribbing creates natural elasticity, allowing the hat to fit a wide range of adult head sizes comfortably without requiring complex stitch math. Because it uses a medium-weight yarn, you can complete this project in a single weekend, making it an excellent choice for last-minute gifts or stash-busting your yarn leftovers.
I finished this hat in just two evenings while watching television. The instructions for the ribbing were so easy to follow and the final texture is surprisingly soft and stretchy.
— Sarah, hobbyist crocheter
Pattern Overview & Skill Level
- Skill Level: Beginner
- Approximate Time: 3 to 4 hours
- Construction: Worked flat in back-and-forth rows to create a rectangle, then seamed along the side and cinched at the top.
- Finished Dimensions: 9 inches wide by 11 inches tall (unfolded), fitting an average adult head size of 21–23 inches.
Materials & Supplies Needed
- Yarn: Worsted weight #4, wool or acrylic blend, approximately 200 yards.
- Hook Size: 5.0 mm (US H-8) crochet hook.
- Notions: Tapestry needle for weaving ends and seaming, stitch markers, and a tape measure.
- Safe Yarn Substitutions: Any soft worsted-weight yarn will work; keep in mind that 100% cotton yarn will result in a heavier hat with less natural stretch than wool or acrylic.
Stitch Guide & Abbreviations (US Terms)
- ch = chain
- st = stitch
- sl st = slip stitch
- BLO = back loop only (inserting the hook only under the back loop of the V-shape of the stitch).
- hdc = half double crochet.
Step-by-Step Pattern Instructions
Main Hat Body
- Row 1: Ch 41. Hdc in the second ch from hook and each ch across. (40 sts).
- Row 2: Ch 1, turn. Hdc in BLO of every st across. (40 sts).
- Rows 3 through 60: Repeat Row 2 until the piece measures approximately 18 inches in length when laid flat. Do not fasten off after the final row.
Seaming and Finishing
- Fold the rectangle in half, matching the short ends together.
- Use a sl st to join the two edges by working through the BLO of the last row and the starting chain edge simultaneously to create a tube.
- Fasten off, leaving a 12-inch tail of yarn.
- Thread the tapestry needle with the yarn tail. Weave the yarn in and out of the ends of the rows along the top edge of the tube.
- Pull the yarn tight to cinch the top of the hat closed, securing the opening with several tight stitches. Knot firmly on the inside and weave in all remaining loose ends.
Care & Washing Instructions
- Hand wash in cool water using a gentle wool-safe detergent to maintain the integrity of the fibers.
- Lay the hat flat on a clean towel to air dry, reshaping it gently while damp to ensure the ribbing remains even.
- Avoid wringing or twisting the fabric, as this can distort the stretch and cause the hat to lose its original shape.
Pro Tips & Common Mistakes to Avoid
Maintain consistent tension throughout the project, especially when working the BLO stitches, as uneven tension will make the ribbing appear wavy rather than straight. Always use a stitch marker at the end of every row to ensure you do not accidentally miss the final stitch, which would cause the edges of your rectangle to slant. Weave in your yarn ends by traveling through the stitches on the inside of the hat for at least two inches to ensure they remain secure through repeated washing. To adjust the size of the hat, simply add or subtract chains from your starting foundation; every two extra chains will add approximately half an inch to the circumference.
Frequently Asked Questions
Can I use a larger hook to make the hat faster?
Using a larger hook will make the fabric looser and potentially less warm. If you choose to size up, ensure you adjust your starting chain length to compensate for the change in gauge so the hat still fits securely.
Is this pattern suitable for someone who has never crocheted before?
Yes, this is an excellent first project. It teaches you how to work back and forth in rows, how to identify the back loop of a stitch, and how to finish a project with a neat seam.
Can I sell the hats I make from this pattern?
You are welcome to sell finished items made from this design, provided you credit the pattern source. Please use your own photos rather than the ones provided here.
How do I know if the hat will fit correctly?
The hat should measure roughly 2 inches smaller than your head circumference when laid flat, as the hdc BLO ribbing is designed to stretch to fit snugly. Test the stretch of your fabric against a tape measure before you reach the final row.
Your finished hat should feel soft and snug, providing just enough stretch to stay secure on a windy day. You can easily modify the look by holding two strands of thinner yarn together for a bulky effect or using a variegated wool for a unique color pattern. Once your hat is complete, take a quick photo of your work and share it with your community online. I would love to see how your colors turned out. Keep browsing the blog for more patterns that use simple techniques to create useful items for your home and wardrobe.