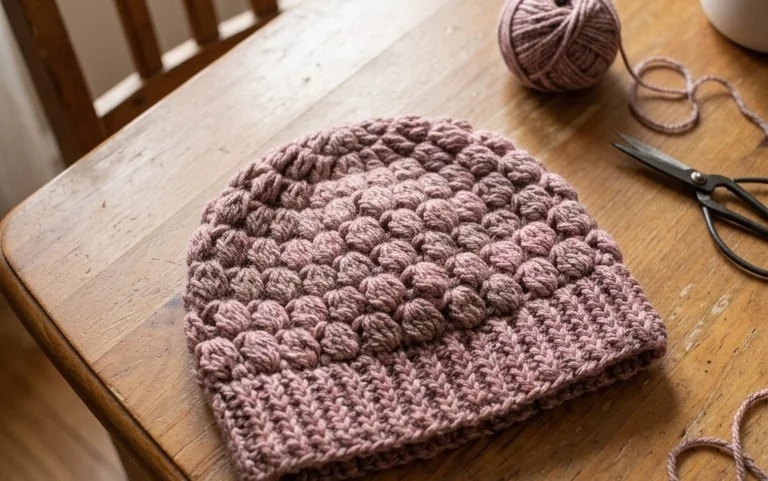
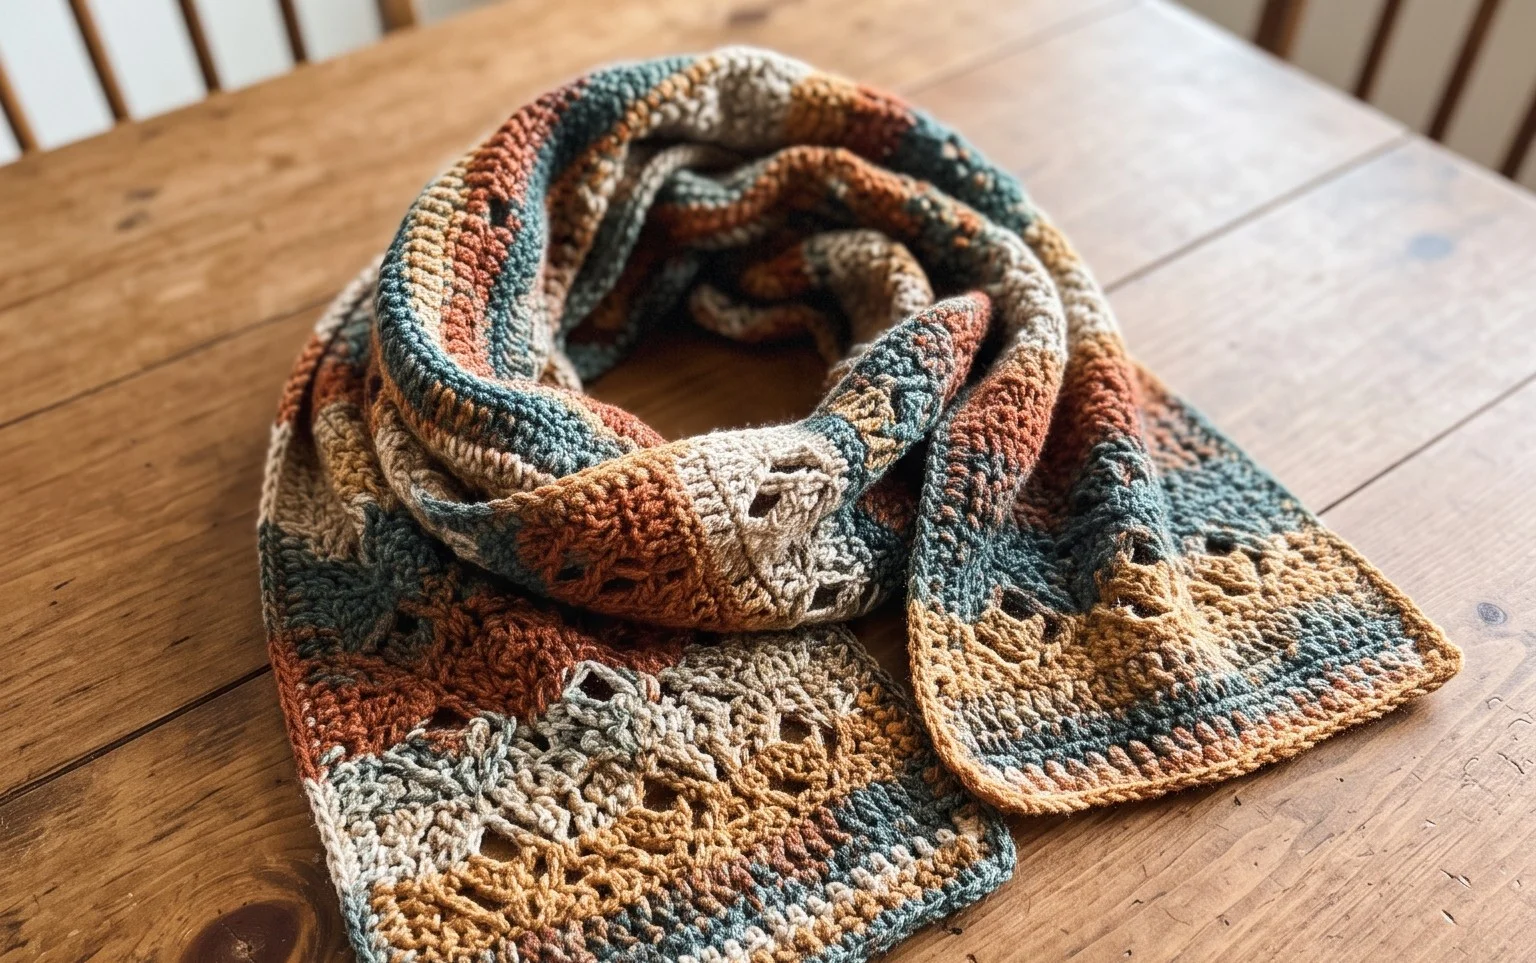
Easy Crochet Hat: Free Pattern in 10 Sizes for Beginners
Soft wool against your forehead makes a chilly winter morning much more bearable when you are wearing a handmade accessory that fits exactly right. This project relies on a simple half-double crochet stitch worked into the back loops to create a dense, stretchy fabric that mimics traditional knitting without the slow pace. You will find that producing a custom garment in ten different sizes feels surprisingly straightforward even if you have only just picked up your hook. We focus on consistent tension and basic seaming techniques to ensure your finished hat looks clean, professional, and ready to give as a gift to anyone on your list.
Why You’ll Love This Pattern
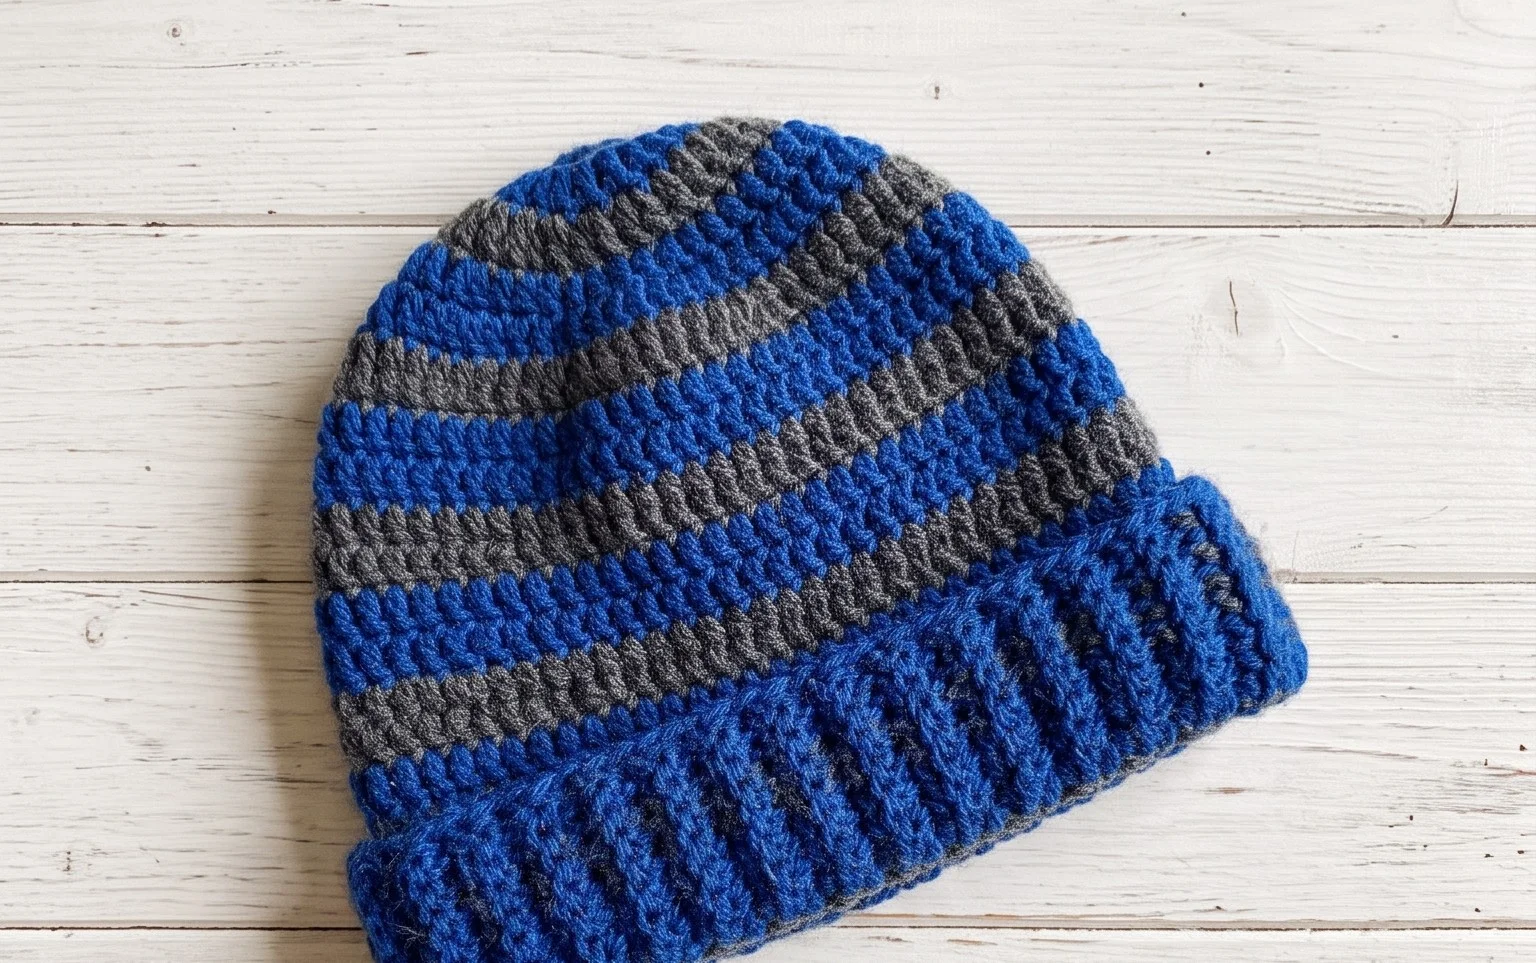
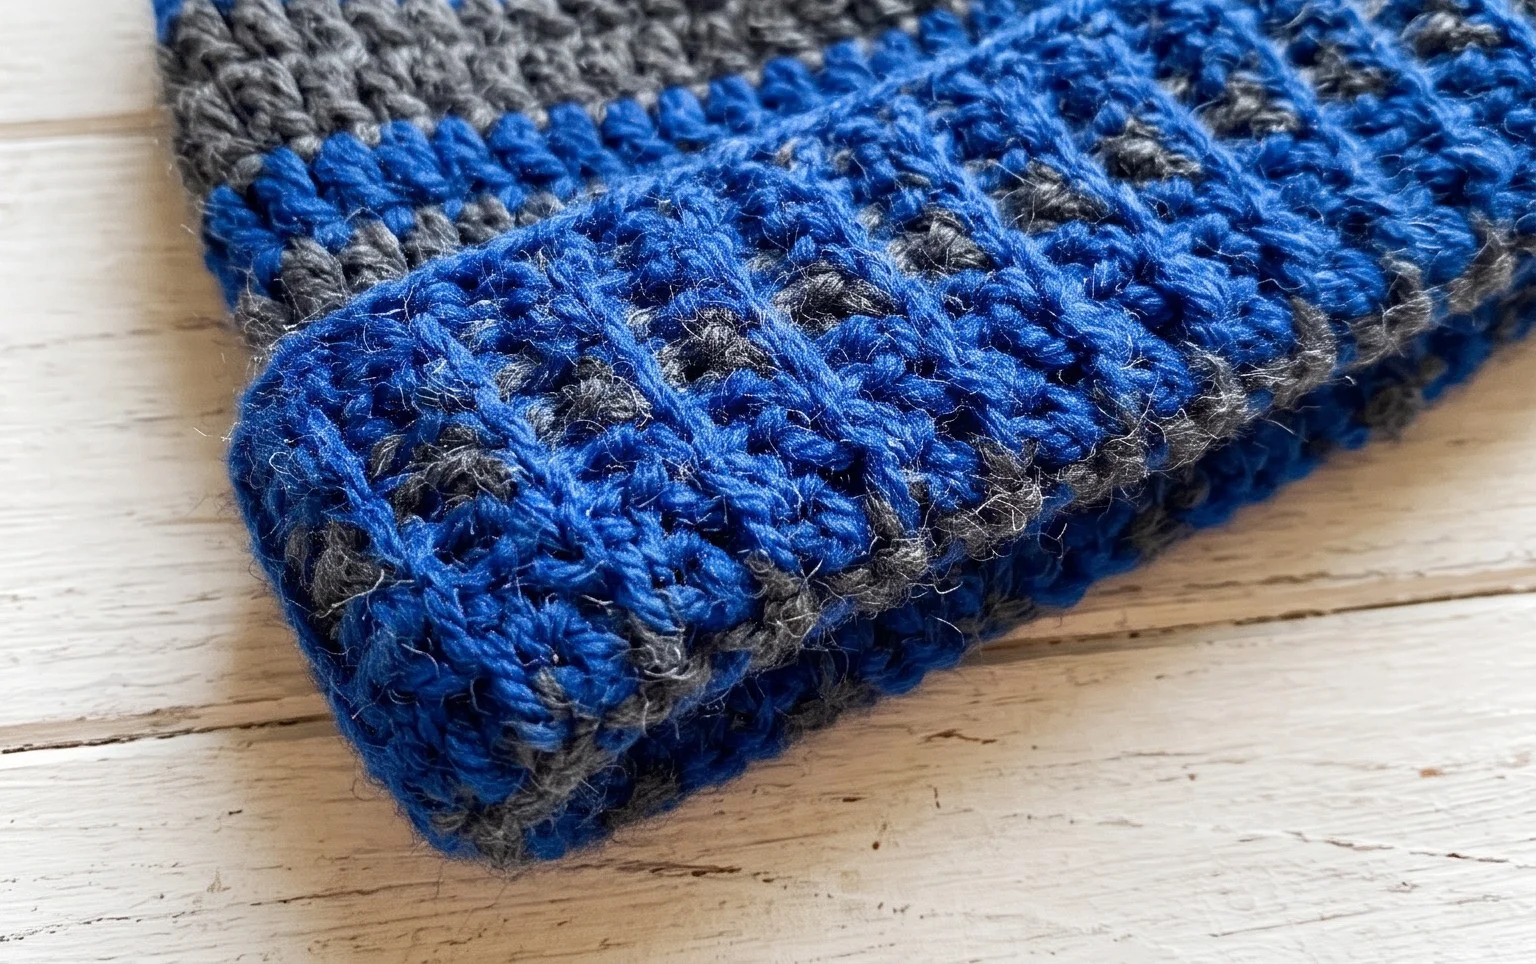
This classic crochet beanie works up quickly using a simple ribbed texture that provides excellent warmth and a flexible fit. Because the design uses a half-double crochet stitch worked in the back loops, it produces a fabric that mimics the appearance of knit ribbing while maintaining the speed of crochet. It is an ideal project for using up single skeins of worsted weight yarn, and the repetitive nature of the construction makes it a relaxing project to work on during an evening. You will find that this pattern is forgiving for beginners but produces a polished result that looks professional enough for gift-giving.
I finished this hat in one sitting and the stretch is perfect for a cozy winter fit. It is my new go-to pattern for last-minute presents.
— Sarah, hobbyist crocheter
Pattern Overview & Skill Level
- Skill Level: Beginner
- Approximate Time: 3 to 4 hours
- Construction: Worked as a flat rectangle, then seamed at the side and cinched at the top to form a beanie.
- Finished Dimensions & Sizing: Fits an average adult head, 20 to 22 inches in circumference, with an adjustable height of 9 inches.
Materials & Supplies Needed
- Yarn: Worsted weight (#4), wool or acrylic blend, approximately 200 yards.
- Hook Size: 5.0 mm (H-8).
- Notions: Tapestry needle, stitch markers, scissors, and an optional pom-pom maker.
- Safe yarn substitutions: You may use cotton yarn, though it will result in a heavier, less elastic hat. Wool blends offer the best memory and warmth for this ribbed design.
Stitch Guide & Abbreviations (US Terms)
- ch = chain
- hdc = half double crochet
- BLO = back loop only (insert hook only into the back loop of the stitch instead of both loops)
- sl st = slip stitch
- st/sts = stitch/stitches
- RS = right side
- WS = wrong side
Step-by-Step Pattern Instructions
Hat Body
The hat is worked in rows to create a rectangular panel. When working in BLO, you will notice a ridge forming, which creates the vertical ribbed effect.
- Row 1: Ch 41. Hdc in the second ch from the hook and each ch across. Turn. (40 sts).
- Row 2: Ch 1, hdc in BLO of each st across to the end. Turn. (40 sts).
- Row 3–50: Repeat Row 2 until the rectangle measures approximately 18 to 20 inches wide when slightly stretched.
Assembly and Finishing
- Seaming: Fold the rectangle in half, matching the short ends. Using a tapestry needle and a length of matching yarn, sl st or sew the two edges together through the back loops only to create a tube. Fasten off, leaving a 10-inch tail.
- Closing the Crown: Use the remaining yarn tail to weave in and out along the top edge of the tube. Pull the yarn tight to cinch the top closed. Secure the opening with several extra stitches to ensure no hole remains.
- Final Step: Weave in all loose ends on the wrong side. Turn the hat right side out and attach a pom-pom to the crown if desired.
Care & Washing Instructions
- Hand wash in cool water using a mild detergent to preserve the shape and fiber integrity.
- Lay the hat flat on a clean towel to air dry, avoiding direct heat or sunlight that may shrink the yarn.
- Reshape the hat while it is still damp by pulling it gently into its original dimensions to ensure a proper fit.
Pro Tips & Common Mistakes to Avoid
- Keep your tension consistent, especially when working the slip stitch seam, to ensure the vertical seam remains invisible and does not pull or pucker the fabric.
- Use a stitch marker at the first and last stitch of every row to ensure you do not accidentally drop stitches, which is a frequent error for beginners.
- Weave in your ends by traveling through the underside of the stitches in two different directions, which prevents the ends from popping out through the right side of the fabric.
- Adjust the size of the hat by changing the number of starting chains; adding or subtracting chains changes the height, while working more or fewer rows changes the total circumference.
Frequently Asked Questions
Can I use a chunky weight yarn instead of worsted?
Yes, but you will need to adjust your hook size to match the yarn label and significantly reduce your starting chain count to reach the desired height, as chunky yarn creates much larger stitches.
Is this pattern suitable for complete beginners?
Absolutely, because it only requires one basic stitch—the half double crochet—and does not require working in the round, which can be challenging for those new to crochet.
Can I sell the hats I make from this pattern?
You are welcome to sell items made from this pattern, provided you credit the design. Please do not redistribute the pattern text itself.
How do I prevent the seam from being too bulky?
When seaming, ensure you are catching only one loop from each edge. This creates a flat seam that blends into the ribs of the hat, making it virtually undetectable once worn.
Finishing this warm beanie brings a sense of accomplishment because you have created a functional garment from just one skein of yarn and a simple rectangle of crochet. Try swapping the wool for a variegated colorway to give your next version a unique look or adjust the starting chain to fit a child instead of an adult. Please share a photo of your finished work online so others can see your color choices. Explore the rest of our pattern library for more cozy projects to fill your afternoons.