Easy Beginner Crochet Beanie: Free Step-by-Step Pattern
This simple wool beanie has a satisfying weight that holds its shape well throughout the colder months. You will notice the fabric feels dense and cozy against your skin, thanks to the texture created by the half-double crochet stitches. It is a rewarding project for anyone just starting out, as well as those who need a quick gift for a friend. Because you work in a flat panel, you avoid the common headache of keeping track of stitches while working in a circle. You will learn how to create a neat foundation chain, manage row turns, and seam two edges together for a polished look.
Why You’ll Love This Pattern
This classic crochet beanie works up quickly using a simple half-double crochet stitch pattern that creates a squishy, warm fabric. Because the design uses a basic rectangular panel construction, you do not have to worry about complex shaping or counting increases in the round. It is an ideal project for using up partial skeins of worsted weight yarn, and the repetitive, rhythmic nature of the stitches makes it a soothing project to work on while listening to a podcast or watching television. The finished beanie provides a professional, store-bought look with minimal effort.
I finished this hat in one evening while relaxing on the couch, and the texture is so much softer than the store-bought versions I used to buy.
— Sarah, beginner crocheter
Pattern Overview & Skill Level
- Skill Level: Beginner
- Approximate Time: 3 to 4 hours
- Construction: Flat rectangular panel worked in rows, then seamed and cinched to form a hat
- Finished Dimensions & Sizing: Fits an average adult head (20–22 inch circumference); 9 inches tall when laid flat
Materials & Supplies Needed
- Yarn: Worsted weight (#4), wool or acrylic blend, approximately 180 yards.
- Hook Size: 5.0 mm (US H-8)
- Notions needed: Yarn needle for seaming, scissors, and a measuring tape.
- Safe yarn substitutions: You can use a cotton blend for a breathable spring hat, but note that cotton lacks the natural elasticity of wool or acrylic, so the hat may feel slightly less snug.
Stitch Guide & Abbreviations (US Terms)
- ch: chain
- hdc: half double crochet
- st/sts: stitch/stitches
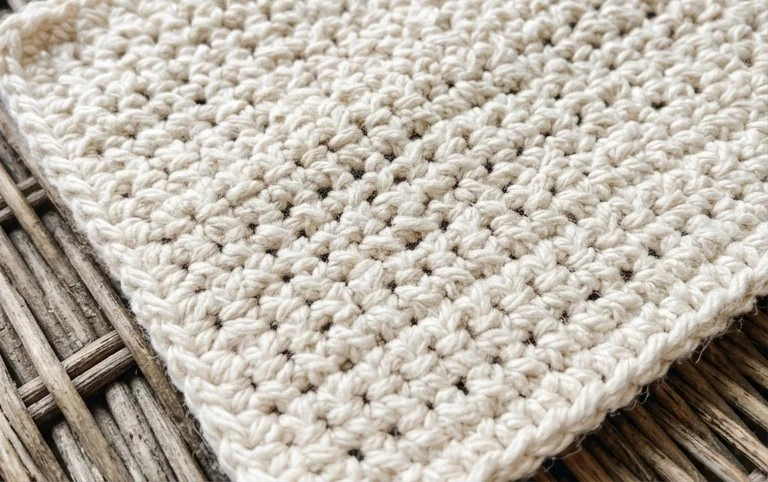
- BLO: back loop only (insert hook under the back loop of the stitch only)
- sl st: slip stitch
Step-by-Step Pattern Instructions
Main Panel
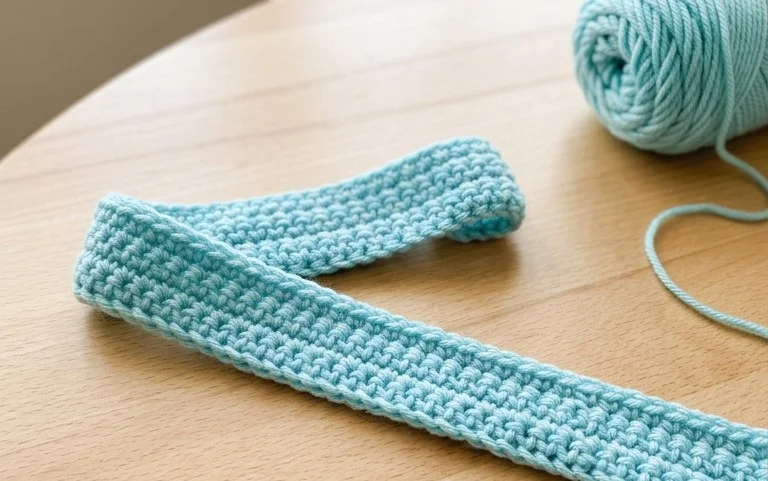
- Row 1: Ch 46. Work 1 hdc in the 3rd ch from the hook and in each ch across. (44 sts)
- Row 2: Ch 2, turn. Work 1 hdc in BLO of every st across. (44 sts)
- Rows 3–50: Repeat Row 2 until the piece measures approximately 18 inches in length when slightly stretched. (44 sts)
- Fasten off, leaving a 20-inch tail for seaming.
Assembly and Finishing
- Fold the rectangle in half so the short ends meet.
- Using the long tail and your yarn needle, seam the two short ends together using a whip stitch to create a tube.
- Once the side seam is closed, use the remaining yarn to weave in and out of the stitches along one of the open circular edges.
- Pull the yarn tail tight to cinch the top of the hat closed like a drawstring.
- Secure the center with a few tight knots and weave in all remaining ends on the inside of the hat.
Care & Washing Instructions
- Hand wash in cool water using a gentle wool detergent to preserve the fibers.
- Lay the hat flat on a clean towel to air dry away from direct sunlight.
- Avoid wringing the hat, as this stretches the stitches; instead, gently press excess water out by rolling it in a towel.
Pro Tips & Common Mistakes to Avoid
Maintaining consistent tension is the secret to a professional-looking finish, especially with half double crochet stitches. Use a stitch marker at the start of each row to help you identify the turning chain so you do not accidentally skip the final stitch of the row. When weaving in your yarn ends, weave them back and forth through the stitches in multiple directions to ensure they stay secure over time. You can easily adjust the size of the hat by adding more chains to your starting row for a longer hat or adding more rows to the width to increase the circumference, though keep in mind that using more yarn will be necessary for a larger size.
Frequently Asked Questions
Can I use a larger hook for this pattern?
Yes, using a larger hook will create a looser, drape-heavy fabric. If you increase the hook size, you may need extra yarn to compensate for the larger stitches.
Is this project suitable for a complete beginner?
Absolutely, because this pattern relies on the back loop only technique to create ridges and requires no complex shaping, it is a perfect first project.
How do I know if the hat will fit correctly?
Check the fit after completing 40 rows. If it feels too tight around the head, add a few more rows before finishing the panel.
May I sell the hats I make from this design?
You are welcome to sell finished items created from this pattern, provided you credit the original design and use your own photographs for your listings.
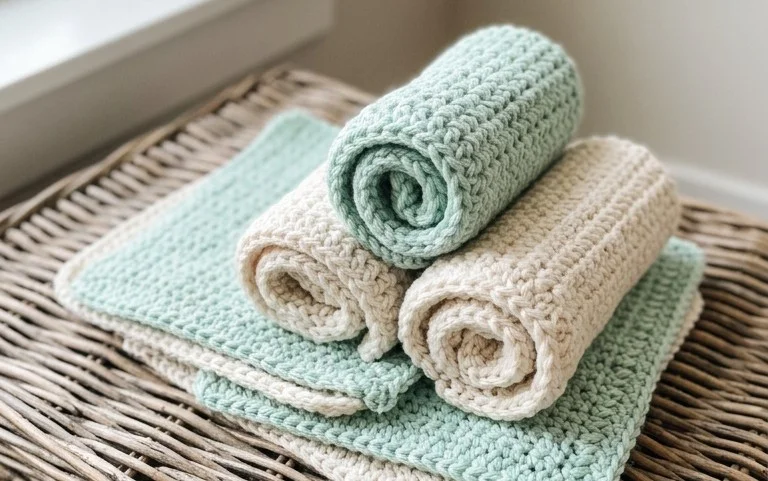
Your new handmade hat is ready to keep you warm on chilly morning walks. If you want a bit more personality, try working the project in a striped pattern by switching yarn colors every four rows. Please share a photo of your finished work on social media so others can see your color choices. You can find several more simple projects, including scarves and dishcloths, by browsing the rest of the pattern archive on this site. Keep your needles ready for the next project because there is always something new to start.